
How to Screed a Floor: DIY Guide for Beginners
Screeding a floor is an important step in preparing your home for tiling or parquet. It allows for the necessary leveling of the surface so that you can install tiles or wood without any bumps, dips, or ridges. This article will walk you through all of the steps involved with screeding so that you know what to expect and how to do it right!
What is Floor Screeding
The process of screeding a floor involves the application of a layer of floor leveling compound onto an existing surface in order to reduce any unevenness and create a smooth level base. If you've ever installed luxury vinyl tiles or commercial wood flooring before then there's no doubt that you're familiar with what happens when this step is skipped, as it can be very frustrating!
Screeding is necessary for ensuring your surface is level and ready for tiling, laminate flooring or wood planks. If you were to skip the screeding process and simply lay down your flooring, you'd find that it is bowed and uneven.
The Tools You'll Need
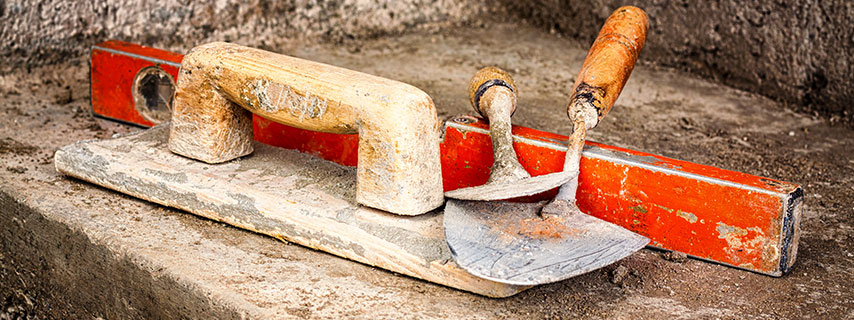
Screeding doesn't require an arsenal of specialised equipment, so it's a job you can perform with tools from around the home. To begin screeding you will need:
A spirit level - a long, flat ruler-like device with an air bubble in the middle. This will be held against your substrate to check whether or not it is completely horizontal and that you have applied the adhesive evenly.
A straight edge - this can be as simple as a length of wood which has been scraped along until the screed mix has been levelled.
A trowel - this is an essential tool to ensure a smooth finish. It's a flat metal blade with a handle on the back that is used to spread and level mortar or screed mix onto your floor.
The screed mix - not to forget the mix itself. This is a mixture of sand, cement and sharp sand which will be used to fill the gaps between your floorboards. See our range of flooring screed mixes for more information.
Preparing Your Room for Screed
The preparation of your room is the most important part of screeding a floor. The first step before you apply any screed mix to fill in those gaps is to make sure that all nails and screws are hammered into the joists as this will prevent cracking later on.
You should also ensure there isn't anything sticking out from floors or obstacles, as this will affect the placement of your screed.
After you have done this, the next step is to put up temporary wooden edging around any obstacles in order for them not to affect how level and straight your floor will be when it dries out. This includes radiators, door frames, etc. It's also important to ensure that there are no pipes or fixtures and fittings in the area that will be screened.
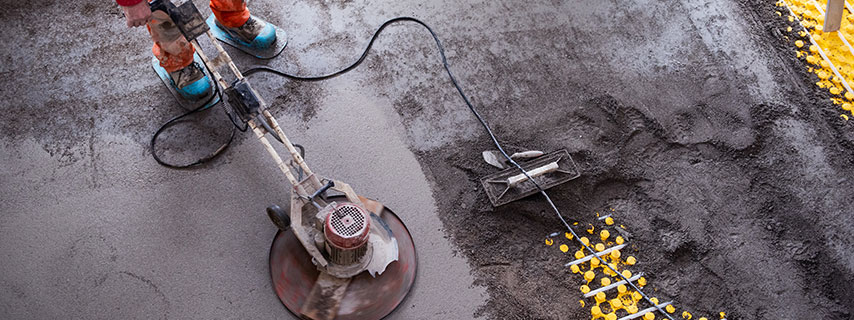
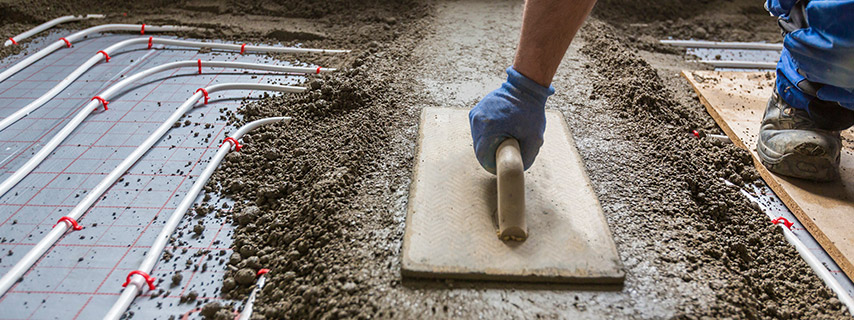
Applying the Screed
After this, you are ready to apply your mix into an even layer on top of these obstacles and any gaps in between the joists using a wooden float for example. It's important not to have too much water content when making your mixture as this can affect drying times later on which could mean the mixture will not set to a smooth finish.
It's important to ensure that you are applying this mixture evenly and consistently. You can use a spirit level or t-square for example, to measure the consistency of your application so it is even on both sides. This will also help prevent any complications when sanding down the floor later on as well.
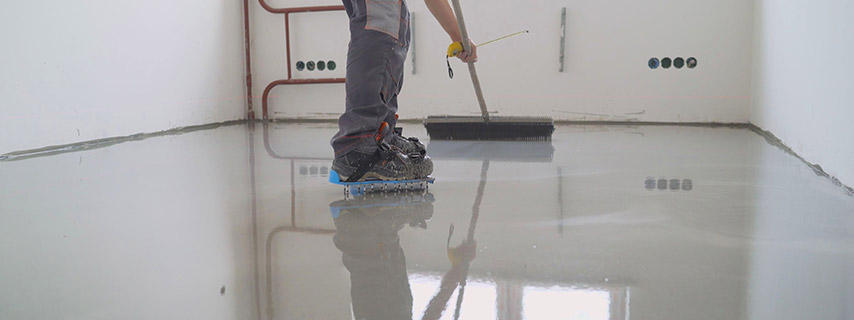
Finishing Touches and Drying Advice
For the final touches of your screed floor, you just need to let it dry. Ensure that your floor is covered in plastic overnight so it can be protected from any moisture or debris during the drying process.
As a rule of thumb, leave the area to dry for around 48 hours in a well ventilated environment. It is recommended to lay off heavy foot traffic for a couple of days so it can be fully dried and cured. Also, keep in mind that the floor will feel a bit of stickier than usual for another day or so as well since there is still moisture on top of your finished screed floor.